


Romanticize 20: Ice Ice, Baby
Turn some foraged finds into frozen art.

It’s been an incredibly mild winter here in rural New Jersey, which is both emotionally bolstering and existentially terrifying (we have well and truly screwed the planet, y’all). I’d had this creative exercise in my back pocket for an especially cold, dull winter day that never quite materialized, so instead I ventured forth by gathering a few early-blooming spring flowers before they succumbed to our one and only snowstorm of the season. Grab a hat and a heavy coat, because for today’s Romanticize we’re diving into the deep freeze.
The Romanticize
Make a unique piece of ice art using items (legally!) foraged from nature.
The Advice
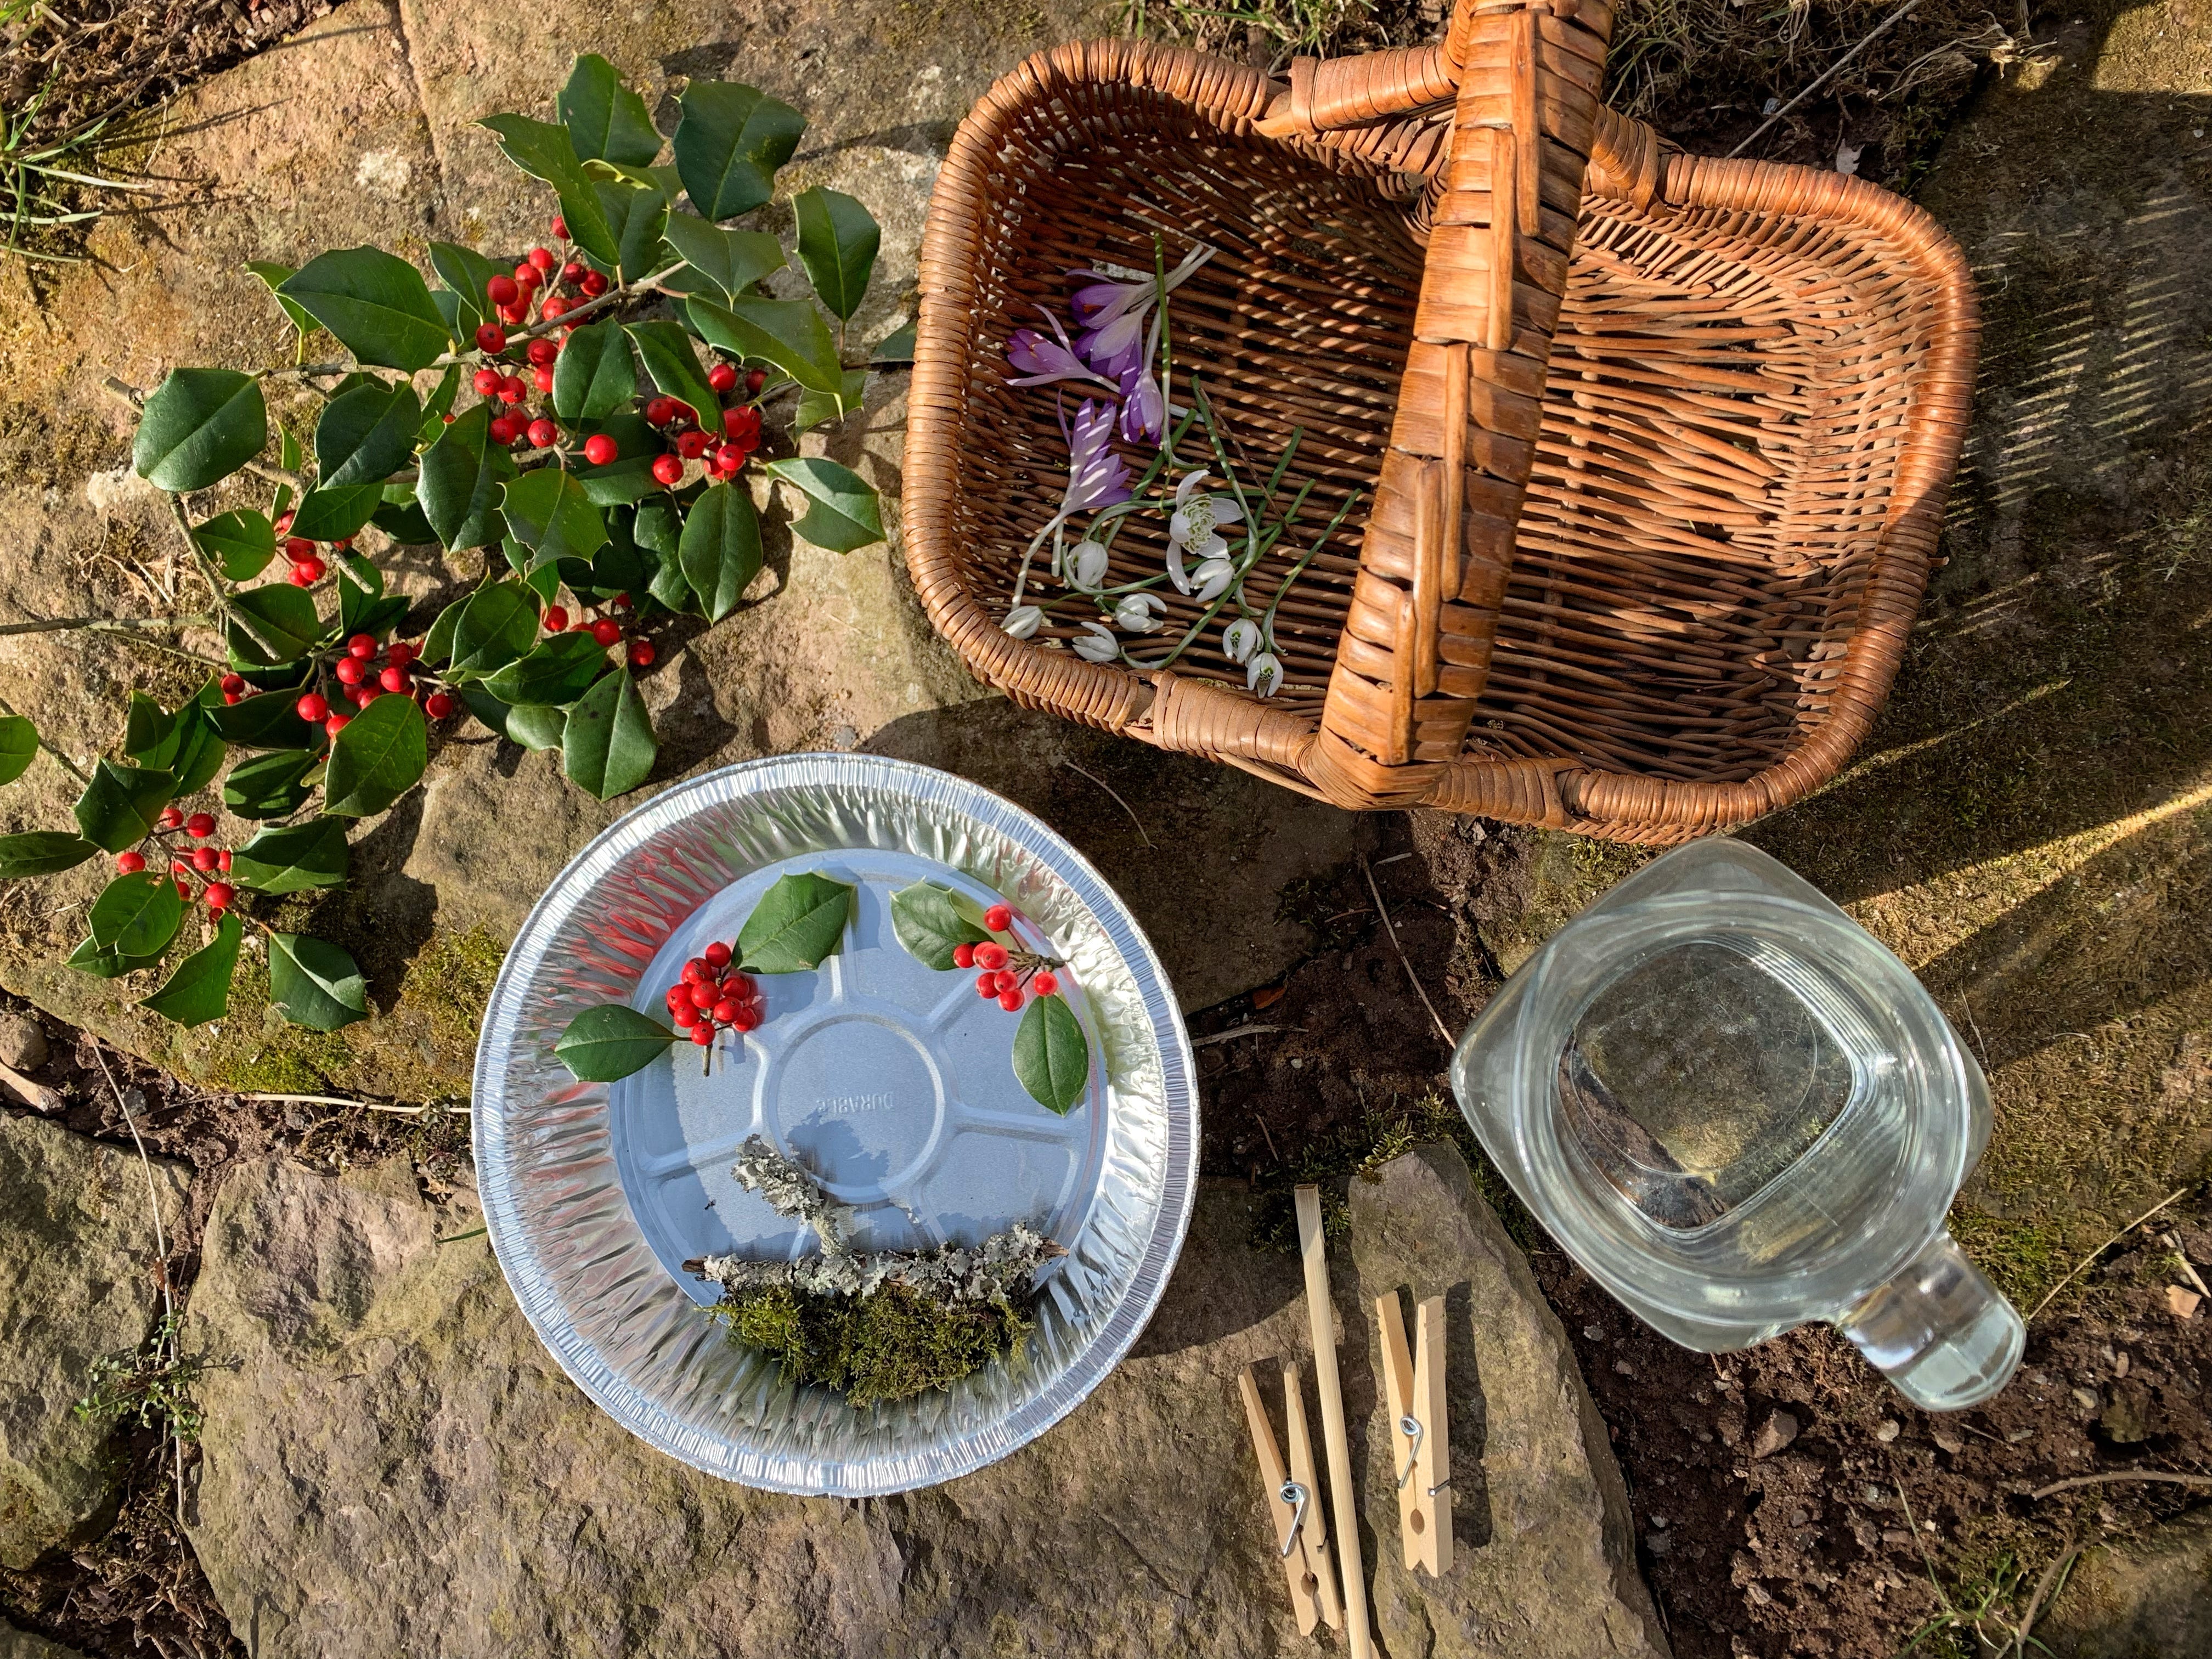
Here’s what you’ll need: a container that you can easily release a block of ice from (I used an old tin pie pan; anything silicone would work too…bonus points if it’s an interesting shape), scissors or pruning shears, something to stick into the top of the ice piece so you can hang it (a hook, a nail, or in my case: a chopstick—the sky’s the limit), and cotton twine or other heavy string. Grab something to secure the hanging item into the water so it freezes straight, like clothes pins or bag clips (you’ll see what I mean in the photo further down).
Find some lovely items in nature (flowers, leaves, branches, moss, berries, grass, etc.) that you can arrange in the water-filled pan so, once it freezes, you’ll have a pretty piece of ephemeral art to hang outside (or inside with a bucket beneath, why not?!) You can also add scraps of fabric or ribbon, or drop in dots of food coloring to tint the water. Go wild!
If you choose to forage off your own property, make sure you have permission or understand the laws of the public land that you’re on. Take only what you need.
Try to arrange your ice art piece right next to the freezer, or even inside of it if you can stand the cold—the less distance you have to travel with the pan, the less your art arrangement will move around when the water swishes.
Only fill the pan halfway with liquid (I learned this the hard way; the shallower you make it, the less opaque it’ll freeze, so you’ll see more of the foraged pieces within). Most of your items will likely float on top of the water, instead of sinking. If you want to try to anchor pieces, grab a stick or stone to tuck them beneath. No matter what you do, the items will move as they freeze…just allow the transformation of the piece’s appearance between liquid and frozen phases to surprise you.
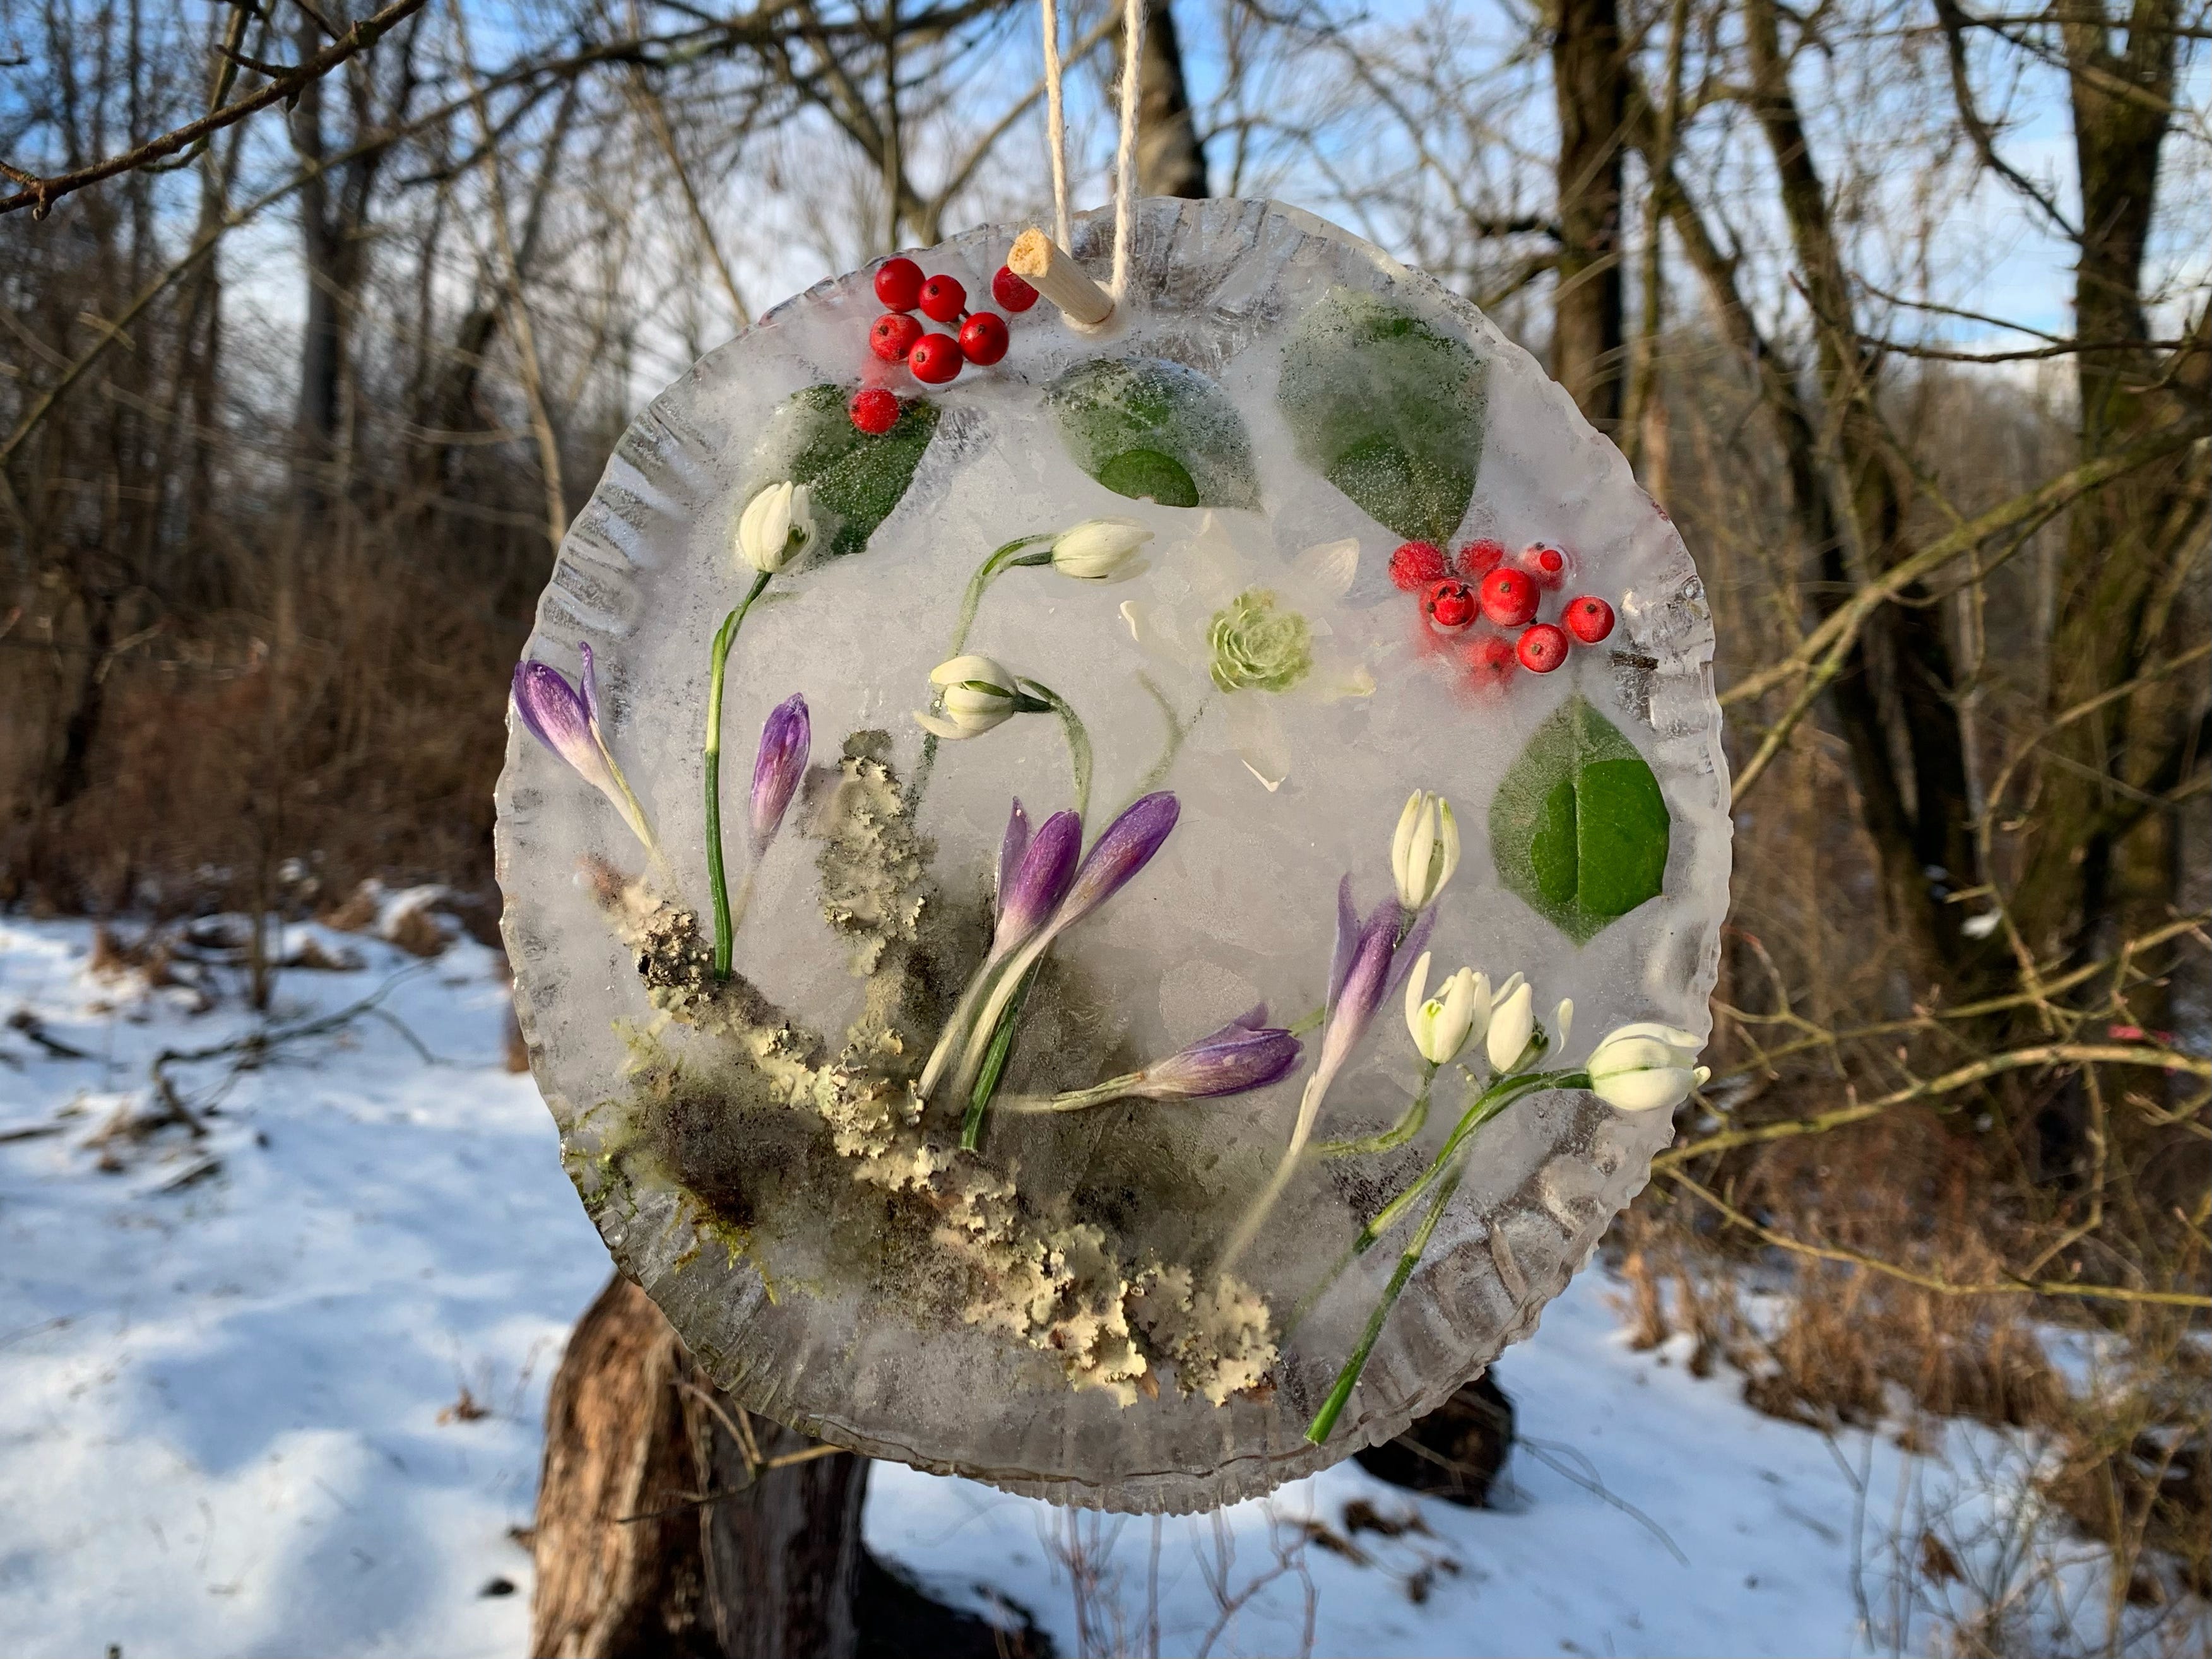
Leave the pan to freeze overnight, pop the ice from the mold, and hang it anywhere you’d like to enjoy your creation as it slowly melts. Observe it as it thins, shifts, falls apart—every stage is beautiful.
Here’s an Instagram reel I made of the process if you’d like a video tutorial.
The Inspiration

I’ve lived on this lovely acreage long enough to know exactly where the first crocuses, daffodils, and snowdrops of the season crop up. While the daffs are currently only short green stems jutting from the frozen earth, the other purple and white beauties are blooming in full force. I picked a handful, then grabbed a lovely lichen-covered stick and a few sprigs of holly from the tree at the edge of the property. I love the contrast of its bright red berries with the purple crocus petals. On the way back to the cottage, I stooped to pick a patch of soft olive-green moss.
I decided to arrange my little scene on the back patio, which is where my hard-won wisdom about compiling everything in or close to the freezer comes in. I agonized over getting all the floating items in exactly the right positions (this exercise is not for the impatient), and then promptly sloshed out half the pie tin’s water while walking it inside to my freezer. By then, all the contents had moved and amassed in a cluttered lump at the bottom edge of the container, and I had to start over with my head stuck in the freezer.

I placed a chopstick at the top and secured it straight with clothespins so I could pull it out and have a hole to tie a piece of cotton twine through. Oh Katie, you sweet summer child… Once frozen, I found that the wood was firmly stuck in the ice, so I broke the chopstick end off and the jutting piece became the gnarly (rustic!) hanger from which to tie my string. The next time I do this, I’ll just secure a hook or some other smaller item in its place. Despite the first-time setbacks, I think my creation turned out really lovely—I tied it on a tree in the back field and watched my little early spring diorama sway and glint in the sun.
I’d love to know the results of your Romanticize—feel free to share your experience in the comments, or tag me on Instagram. Until next Wednesday, fellow romantics!